Showing posts with label Create. Show all posts

Wednesday, January 7, 2015

Mason Jar Christmas Candles - DIY

At what age do kids stop believing in Santa? My middle guy has been a skeptic all his life. {Takes after his mother :) } He is the one to tell all the other kids that Santa isn't real. So far, no one has believed him! During our extended family Christmas, my cousin dressed up as Santa, and Brenden made sure to point out all the fallacies with his costume. The next morning, when we were talking about the fun party, he talked about the visit from "Pretend Santa." Oh boy...

Now that Christmas is over and the gifts have been given, I can share a project that my little non-believer and I worked on together. I had some candle making supplies stashed away and I pulled them out for this craft. Mason jars are super popular and I knew these would be an easy DIY gift.


Instructions:
1. Melt candle wax in a double broiler according to instructions. Add preferred dye and scents.
2. Prepare mason jars and wicks. Drop the wick into the jar and wrap the end around a pencil that balances on the rim of the jar. This prevents the wicks from falling into the hot wax.
3. Carefully pour the melted wax into the mason jars. We put the jars on an old pie pan to catch any drips. Reserve some wax to fill dips as the wax cools.
4. It will take a few hours for the wax to cool. You can use this time to prep decorations for the jars, but you could also take a nap or catch up on your favorite Netflix show. :) Once the wax is cool, there may be a dip around the wick. Use some of the reserved wax to fill this dip. Be careful to not add too much above the dip as there may be a line between the two waxes. However, if this does occur, it is easy to disguise with a ribbon.
5. When the candle is completely cool, add decorative pieces with a hot glue gun. I found it easy to glue strips of ribbon, then the decorative piece, then another bow made out of the same ribbon. Tying the ribbon around the mason jar was too clumsy.

I was really excited to find ribbon and matching decorations at Michael's. The pairing of the snowflake ornament and snowflake ribbon was perfect for teachers. The berries and burlap made a great co-worker gift. I just kept the pine-cones and holly for myself . ;)


Thursday, August 14, 2014

Birthday Party in the Jungle!

When my oldest was about to turn two, his favorite animal was a zebra. So, when it came time to celebrate his birthday, we chose a jungle theme and highlighted the zebra. This event was really fun to put together. Most of my inspiration came from the Jungle Animals theme from Amscan - available at Amazon.
1. ǀ 2. ǀ 3. ǀ 4. ǀ 5. ǀ 6. ǀ 7. ǀ 8. ǀ 9. ǀ 10. ǀ 11. ǀ 12. ǀ 13. ǀ 14. 

The cake pan that I used was Animal Crackers by Wilton. But, instead of keeping the ears round, I peaked them a little and decorated it like a zebra! I see that there are also monkey and elephant cake pans if you wanted to focus on that part of the theme. 
15. ǀ 16. ǀ 17. 
Zebra Cake (If I can do this, you can, too!)

I  used some Fisher Price toys that we owned as part of the decorations since they fit right in! That's always the best type of decoration, free! Unfortunately, these are no longer available for (reasonable) purchase, but I find them frequently at garage sales or on Ebay. 

Image found here.

Looking for a present for the birthday boy or girl? Try this Zoo Friends Fresh Starts Animal Puzzle from Melissa and Doug. It's simple to put together and the pieces are sturdy making it perfect for a toddler or preschool age child. 

To remember the event, you can pick up this Amanda Blu Scrapbook.
Circus Faces 12x12 Embellished Fabric Scrapbook

Since I had a newborn at the time, I unfortunately didn't get the opportunity to take many photos of the event, but here are a few highlights: 
A boy and his birthday balloons. 

Pin the nose on the lion game!


What have been some of your favorite birthday themes?

Tuesday, July 29, 2014

Weekly Menu Planner


When my family and I started our budget, I couldn't believe how much money was being wasted on uneaten food! In order to put a lid on the excess waste, it was essential for us to start meal planning. As we started to prepare ahead of time, the way I shopped for groceries was dramatically changed! Instead of going to the store and buying a bunch of food, but nothing to make an actual meal with, I started to intentionally buy ingredients for meals throughout the week. However, one little problem I had was that I habitually plan out my meals on the same piece of paper as my grocery list. Then, when I would get home, I would throw out the list, including my meal plan, and quickly forget which meals I was going to prepare! So, having designated spot to list out my meals has been very helpful for my scattered brain :) 

I created this menu planner with some inspiration I found on Pinterest (of course). The process is very simple: paint a frame, print your menu on patterned paper, add decorations, and you're all set! For a frame, it's easier to use a wooden certificate frame because 1) wood is easier to paint on 2) it will better match the paper size. When the paint is dry and the paper is inserted in the frame, just use a wet erase marker to write in your menu details. Dry erase markers would also work, unless you have kids that like to touch things, as the case in my household :) Alternatively, it's also very easy to convert into a schedule or shopping list.  


Do you have any tips for budget menu planning?


Friday, July 25, 2014

Relaxing Bath Salts

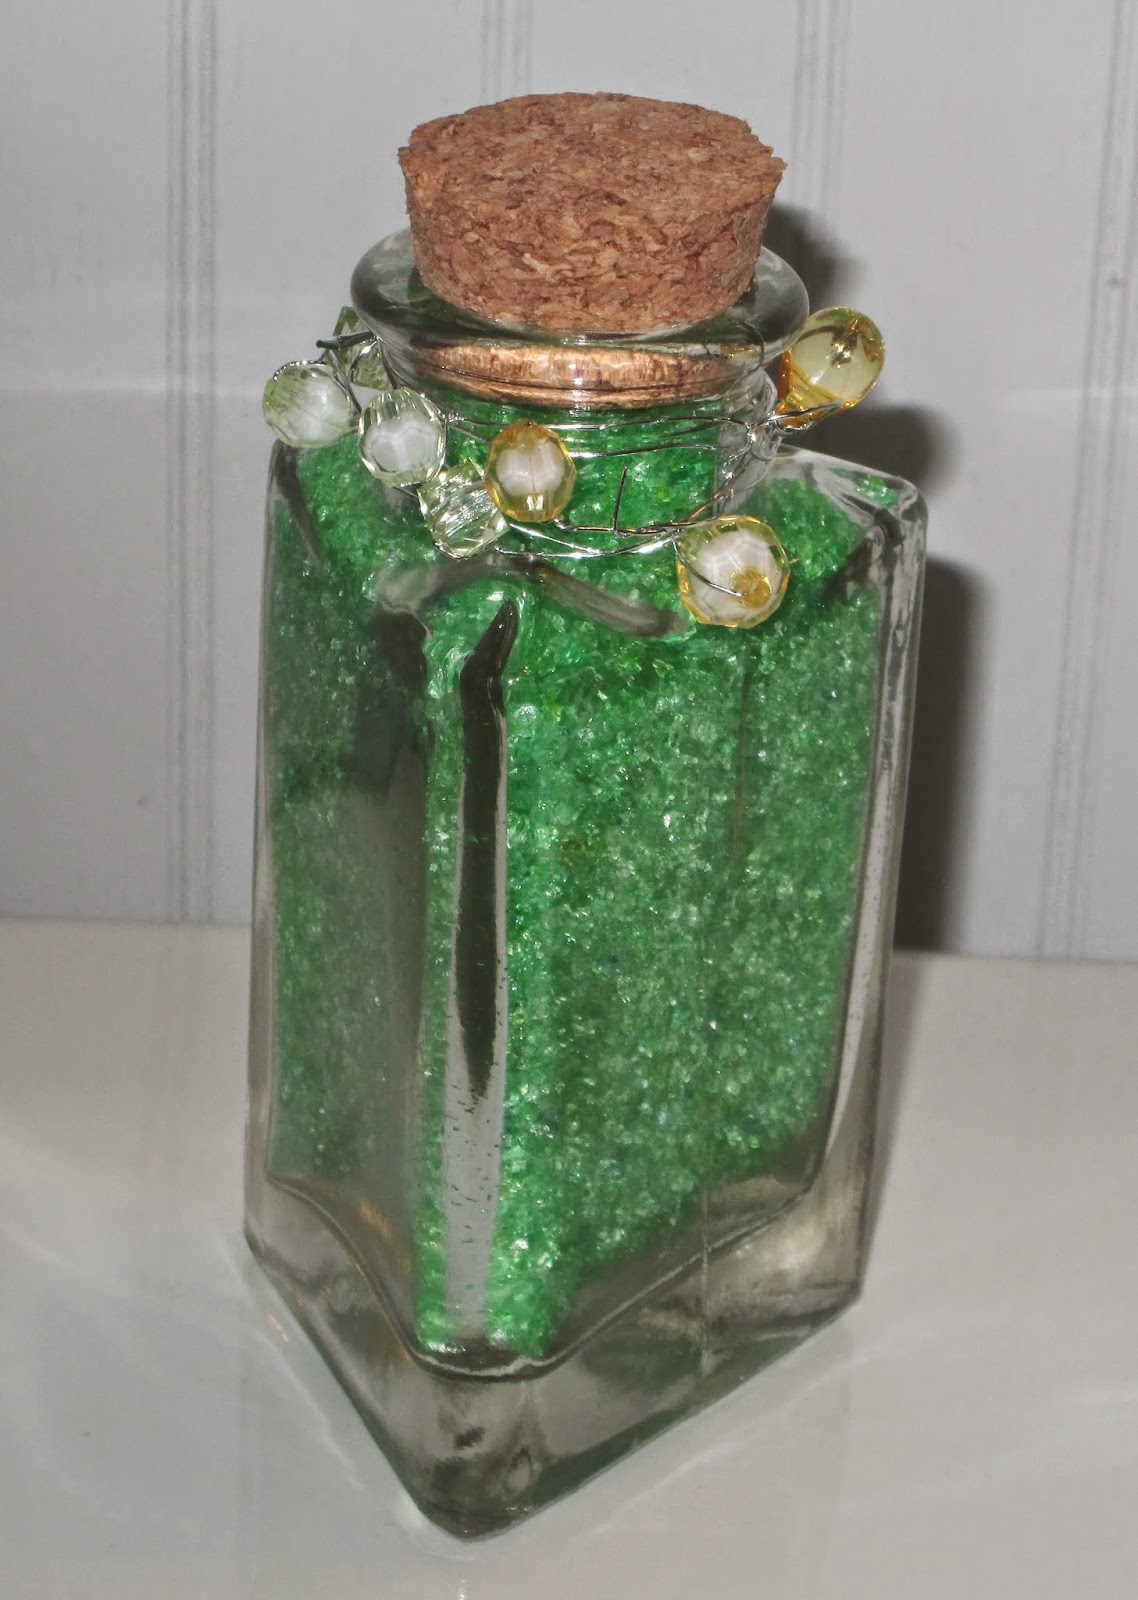
After a long day at work and chasing around little boys, my favorite thing to do is take a long soak in the tub. The addition of bath salts help with relaxation and to also chase away any lingering little boy bathroom smells. :)  Last Spring, I had a moment with some friends to create a large batch of salts which we split up to take home. This is a very easy project that is great to do in a group. 


Instructions:

Supply List: Coarse Sea Salt, Epsom Salt, Essential Oil, Food Coloring, Decorative Jars, Funnels. Optional: Paper Bowls, Plastic Forks, Ribbons/Bead Decorations. 
  • Take 2 parts Coarse Sea Salt to 1 part Epsom Salt. Mix in a bowl using a fork to sift as necessary. 
  • Mix with a few drops of Food Coloring until desired color is achieved. 
  • Add a few drops of Essential Oil and continue to combine. When I made this with my friends, we divided up the salt prior to this step to add our own fragrance, but that is optional if more than one person in the group prefers the same color and scent. 
  • Using the funnel, pour the bath salts into decorative jars and secure the top tightly. The jars that we used came from Michael's and held enough salt for two baths. These would also look great in mason jars! 
  • Optional: tie coordinating ribbon or beaded wire around the top of the jar for an extra decorative touch. 


Hope you get time and privacy (right, moms?) to enjoy a long soak soon! 

Wednesday, July 23, 2014

First Birthday - Airplanes

When it comes to birthdays, I love to celebrate! My family is one of those types that likes to go all out for parties - or at least as far out as the budget will allow :). We were celebrating my son's first birthday last winter and I found a cute airplane theme called Fun at One by Creative Converting. Most of my supplies I bought from Amazon with a few supplements from the Dollar Tree. To really tie the theme together, I also bought a mini airplane cake mold and airplane candle holders to decorate the cake. 

Fun at One by Creative Converting (Amazon links below)
 1. ǀ 2. ǀ 3. ǀ 4. ǀ 5. ǀ 6. ǀ 7.  

Granted, I'm not a professional, but I was really pleased with the way that the cake turned out. (Funny story, the first time I made the cake, I forgot to use the airplane mold! So, after a midnight run to the grocery store to buy another cake mix, this cake became double layered.) 


 In my six years of amateur cake baking, I have found that the Duncan Hines Triple Chocolate Cake Mix is really the best. It's very rich and moist and goes great with this butter-cream frosting recipe. 

I had wanted to find a way to get the older kids involved with some fun at the party, so I used the door banner (#6 above) to create our own "Pin the Star on the Airplane" game. However, the kids found it more fun to "pin" the stars on themselves! 


 Overall, the birthday boy had lots of fun on his special day, even if he refused to eat his cake! 
Chair decorating kit not pictured above, also found at Amazon.